Your first project
This walkthrough adds a project, launches an agent in it, and reviews that agent's changes.
You need Patterm installed and at least one agent CLI on your PATH, signed in.
Add a project##
- Open Patterm. On the projects page, select Add project at the top right.
- In the New project dialog, enter the path to your repository, or select Browse… to pick a folder. In a browser, the path is a path on the machine running Patterm.
- Optionally enter a name. It defaults to the folder's name.
- Select Create project.
The project opens in its own workspace. You can switch projects at any time from the project menu at the left of the top bar. Its Project selector entry returns you to the projects page.
Launch an agent##
A new project shows a Get Started screen with a button for each installed agent CLI. Select one to launch it in the project folder.
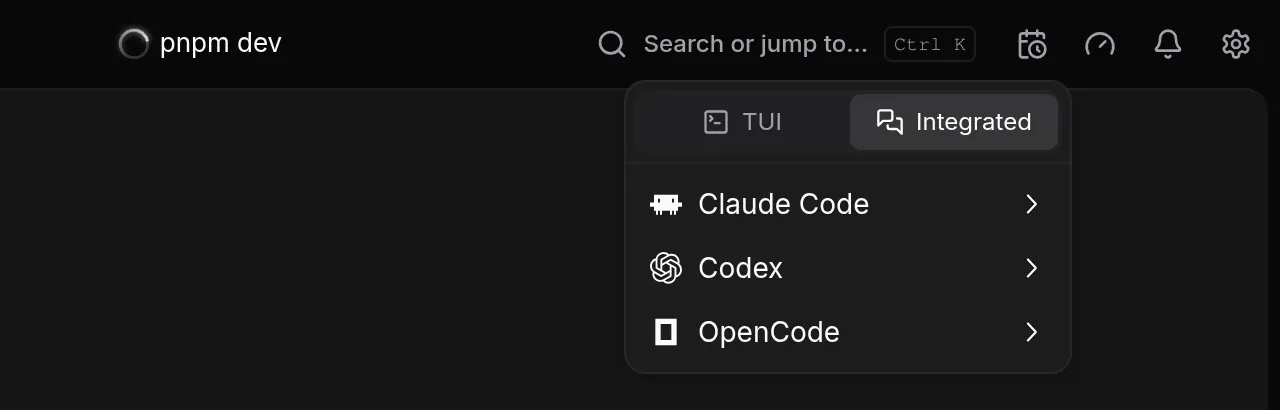
Later, use the Launch agent button (a plus sign) at the end of the tab strip. The menu lists each installed CLI. It also has an interface toggle:
- Integrated opens the agent as a conversation. This is the default.
- TUI opens the CLI's own terminal interface.
Your choice is remembered. See Integrated and TUI agents. If a CLI has presets, hover it to pick a model preset, or select it to use the default. Presets are configured in Settings.
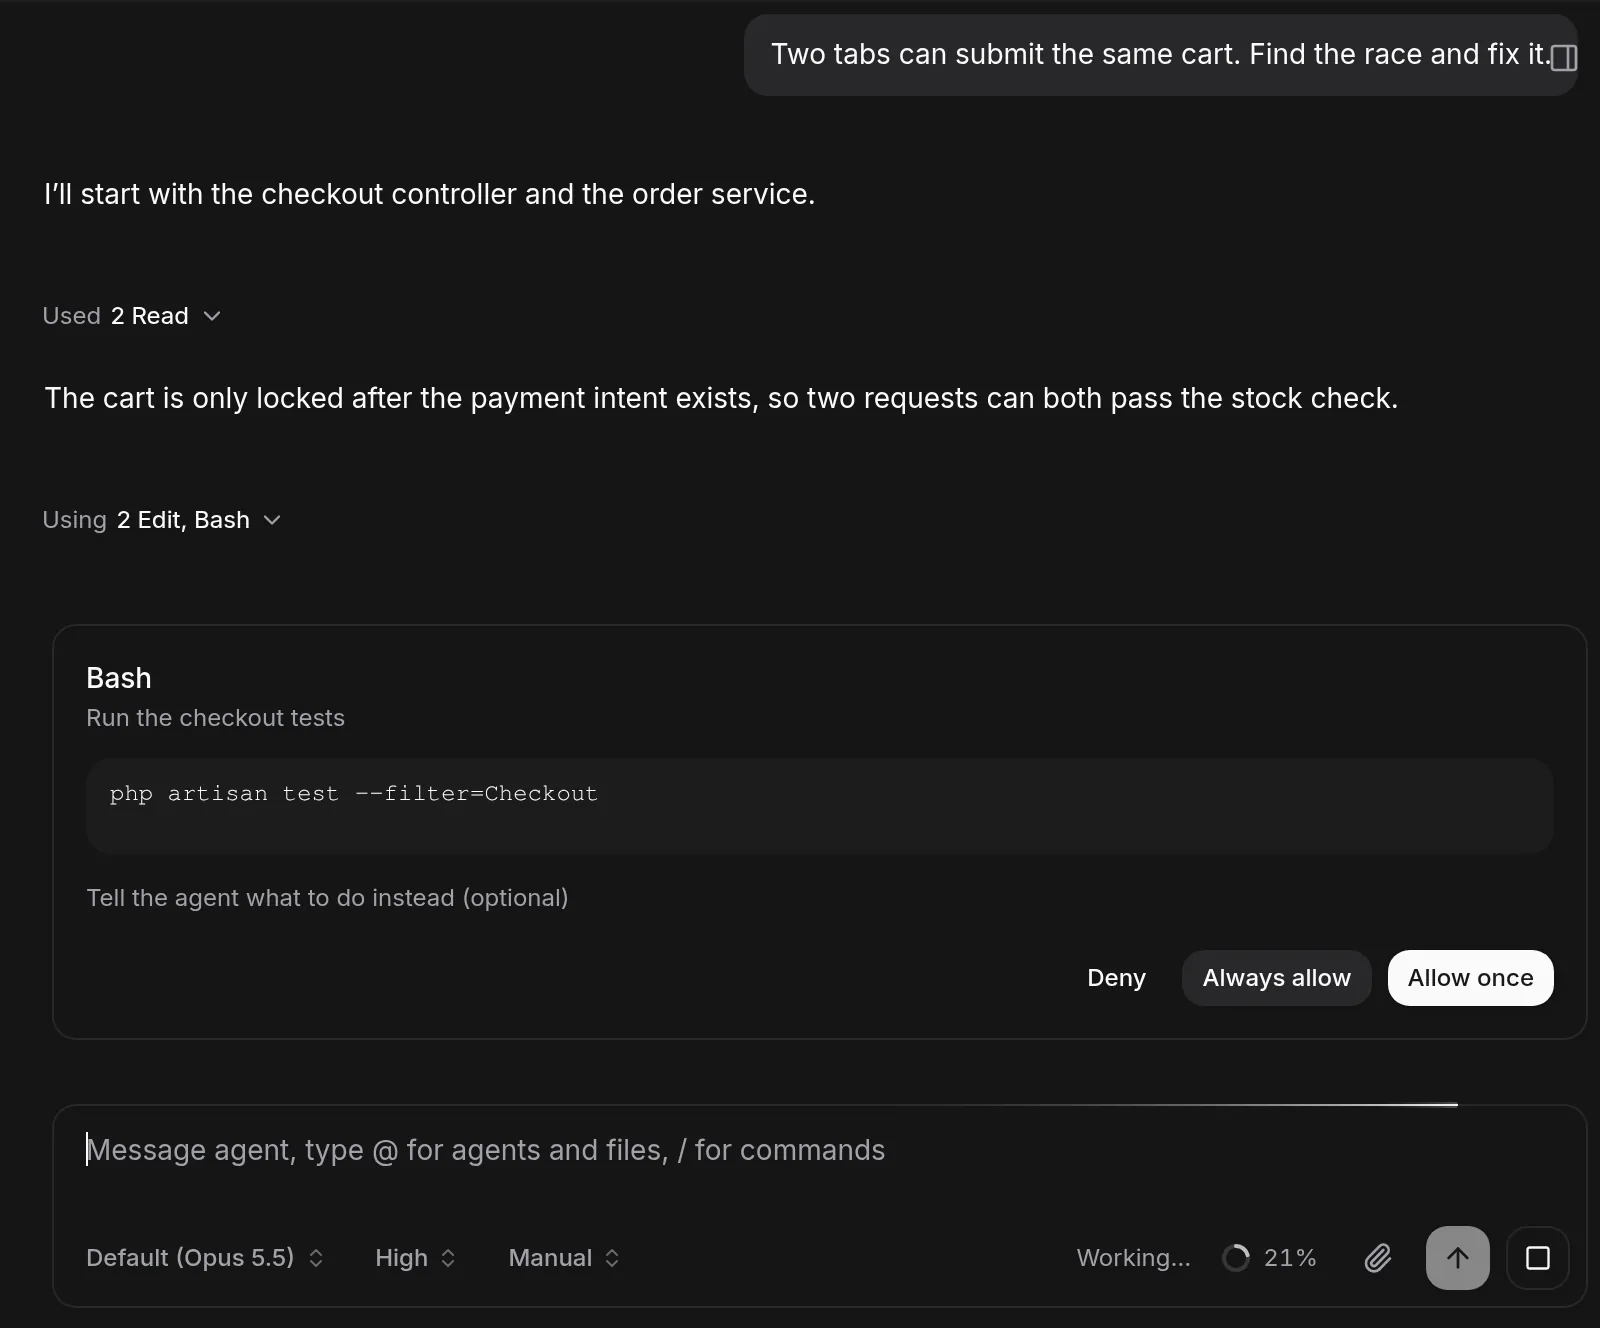
The agent starts in your project folder with its usual prompts, so approve or decline actions the way you normally would in that CLI.
Switch between tabs##
Each agent and process in the project has a tab in the top bar. Select a tab to switch to it. Agents keep running while you look at another tab.
Hover an agent's tab to see the helpers and processes it started. Right-click a tab to rename it, pin it, set a timer, copy its process ID or close it.
Select Search or jump to… in the top bar, or press Ctrl+K, to jump to anything in Patterm by name.
See what the agent knows##
Select the panel icon at the top right of an agent's workspace to open Session context. It lists the agent's worktrees, todos, scratchpads and links. Use the plus button on each heading to add one.
The sidebar lists the project's agents and links to the project pages: Worktrees, History, Todos, Scratchpads and Media.
Work in a worktree##
A worktree gives an agent its own copy of the code, so it does not change the folder you are working in.
- Open Worktrees from the sidebar. This page only appears for projects that are git repositories.
- Select Create worktree to add one, or Link worktree to use an existing one. For a new worktree, enter a name. The path is optional.
- Link the worktree to an agent from its Session context, using the plus button next to Worktrees.
Each worktree on the page has an Open terminal button, which starts a shell inside it. Unlink removes the worktree from Patterm's records only. It never deletes the directory or its branch.
Patterm does not commit for you. Ask the agent to commit, or commit yourself, using normal git.
Review a diff##
In an agent's Session context, select a worktree to open its changes. The diff view shows the changed files for that worktree.
- Pick a file from the tree beside the diff, or use the previous and next buttons or the
[and]keys. - Select Refresh changes to reload after the agent edits more files.
- Press
Esc, or use the back button at the top left, to return to the agent.
If you prefer to work through files in order and tick each one off, switch Settings › Appearance › Diff review to Review deck. See Diff review.